Upgrading a home electrical outlet to also have USB charging ports is a nice feature to have.
USB charging of devices has become standard and is here to stay with new technology only improving, such as Quick Charge 3.0.
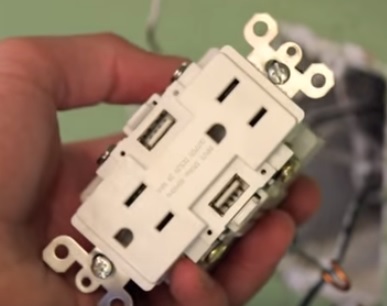
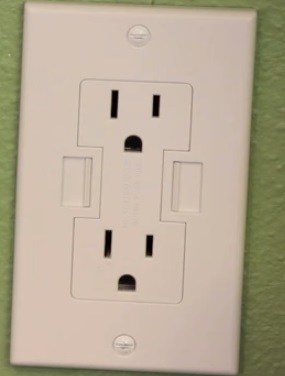
The outlet is usually replaced with a new outlet that has standard 115 volt plug and a USB plug.
There are also USB wall chargers that simply plug into an existing outlet and work well but are not permanent and do not look as nice as the new modern USB electrical outlets.
Replacing a wall outlet is not difficult, but if in doubt, always call a professional to do it for you.
How to Install an Electrical Outlet with USB Power Ports
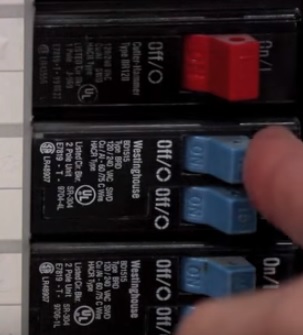
- The first step is to turn the power off to the outlet by shutting the breaker off.
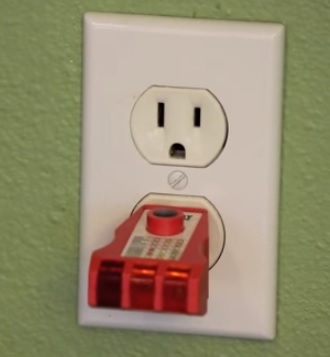
- Verify the power to the outlet is off by using a meter or plugging in an electric device such as a lamp and testing it.
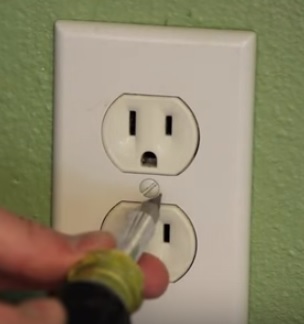
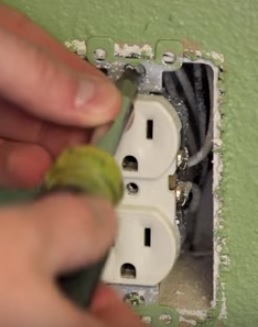
- After the power is off, remove the face-plate by taking out the small screw in the middle.
- Two screws will hold the old outlet in place at the top and bottom and need to be removed.
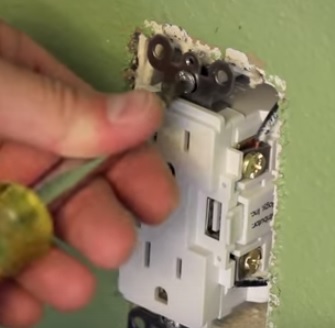
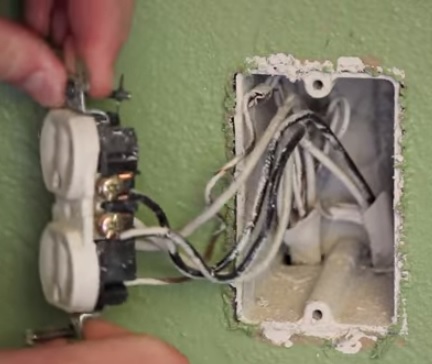
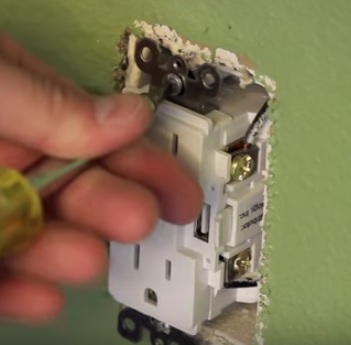
- Pull the old outlet out to get access to the wires.
- Remove the old outlet by disconnecting the wires. Usually, there is 2 black wires, 2 white wires, and a green wire.
- In some cases, there will be one 1 black, 1 white, and 1 green wire, which is fine; simply remove them.
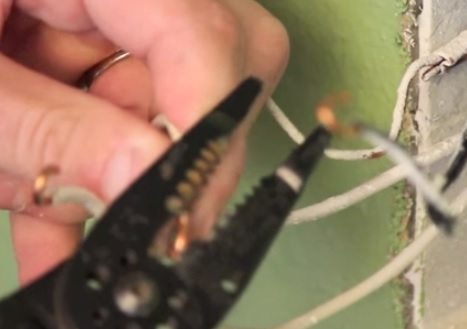
- If any wires get damaged use wire cutters to re-stripe them.
- AC wall Outlets come with one AC plug longer than the other on the face-plate. The long slot is for the white wire and the short for the black wire.
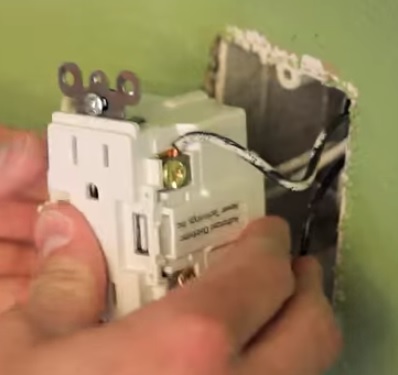
- After the wires are screwed into place, push the outlet back into the wall. Sometimes it takes a bit of force; be sure the wires don’t come off while pushing it back in.
- The top and bottom screws need to be screwed in to hold it in place.
- Install the face-plate.
- The final step is to turn the breaker back on and test it out.
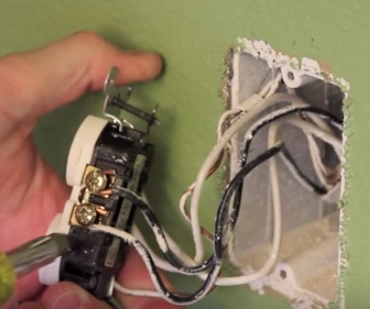
One side has brass screws and goes to the black (Hot) wire
The other side will have silver screws and goes to the white (Neutral) wire.
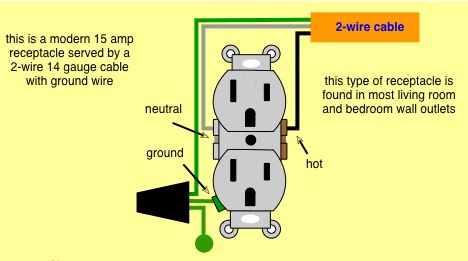
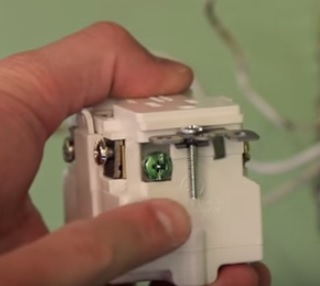
Green is ground and is attached to the green bottom screw.
The Black wire is called the Hot.
The White wire is called Neutral.
The Green Wire is called Ground.
Summary
Upgrading an AC wall outlet to also have USB power ports is a nice feature to have.
Not only do they look great, but they add very real functionality and ease of use when charging your electronic devices.
While wiring in an outlet is a good DIY project, always call a professional if you have any doubts about the installation.