
After receiving the new Raspberry Pi model 2 I was all ready to install Kodi with Rasbmc as I had done before on the B+ 512 Mb version, but I found out it was incompatible with the new quad core model 2.
The good news is that Rasbmc has been renamed and updated and now called OSMC.
If you have used Rasbmc in the past and liked it than the new OSMC maybe the way to go, if you are a the new Raspberry Pi 2 owner.
Here is a list of the hardware requirements to install OSMC/Kodi on the Raspberry Pi model 2.
Raspberry Pi model 2
HDMI audio video cable
USB Wi-Fi adapter or Ethernet connection
Power Supply
8 GB Class 10 Micro SD card, or USB flash drive.
Micro SD Card Formatter
A mouse or keyboard is also needed to be able to control it. There are remote controls that can be bought to work with a RasPi but any basic USB mouse or keyboard will work.
The first thing that needs to be done is that the OSMC image file needs to be written to the micro SD card (or flash drive).
OSMC creators have a easy-install-interface that is basically point and click. It can also be installed using Win32Disk Imager if desired.
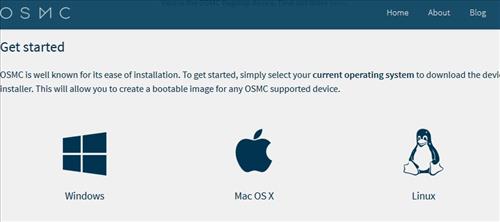
To use the the installer go here and download the correct version for your install Windows, Mac, Linux. https://osmc.tv/download/
After downloading the OSMC installer simply insert your SDcard or flash drive and follow the instructions.
Here are the steps to installing OSMC on a Raspberry Pi 2 with Win32Disk Imager
The OSMC installer is recommended before using this method. Only use this method if the installer fails to work for you.
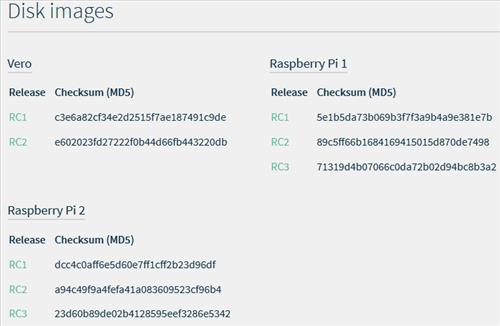
- Download the OSMC image file here https://osmc.tv/download/
- Download Win32 Disk Imager Here https://sourceforge.net/projects/win32diskimager/files/latest/download
- The image file will need extracting. After extracting leave it alone and move on to the next step.
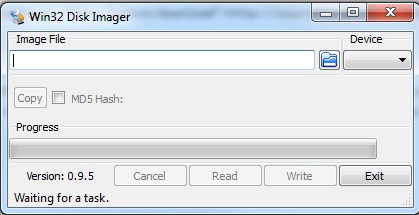
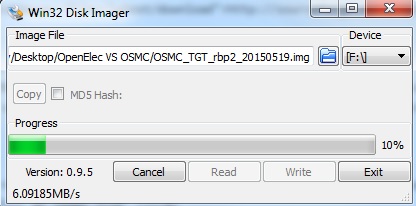
- Run Win32 disk Imager
- Next open the image file from were it was extracted at by clicking the folder icon and going to its location.
- Once the file is loaded insert your SDcard or Flash drive and make sure it is correctly selected. Then click write.
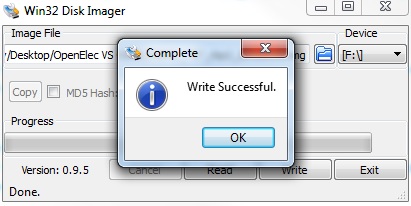
- A pop up window will display “Write Successful” when it is done.
Be sure to get the correct file as they have image files for the Raspberry Pi 1 and 2.

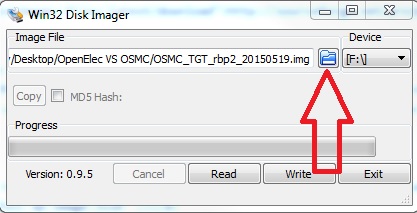
Be sure the correct drive is selected as Win 32 Disk Imager will write to any drive!!!
The Micro Sd Card is now ready to be installed into the Raspberry Pi model 2

Once connected to a TV and powered up with the micro SD card it will go through a series of downloading and installing Kodi.This can take 5-10 minutes and then the unit will reboot.
It currently comes with a different default boot skin but this can be easily changed by going to settings–>appearance–>Skin and changing it to Kodi default screen.
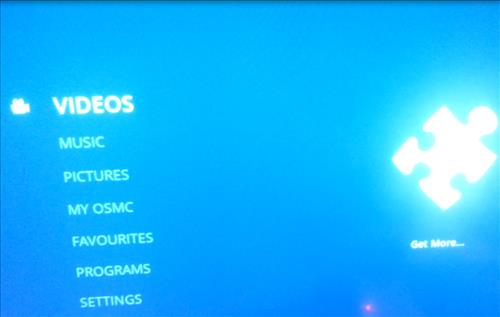

And that’s it Kodi is now installed on your Raspberry Pi model 2. OSMC is still in the beta stage but it seems to be working great for me so far.
how do I get to the Wi-Fi settings???
If you’ve got the red/yellow/blue/turqoise screen you are probably trying to boot the wrong Pi version, check that the software version you are using matches the board version. If the IMG has rbp1 in the filename it is for a Pi 1, rbp2 for Pi 2 etc.
My Pi is just stuck on the initial red/yellow/blue/turquoise screen, any ideas?
So did mine. 🙁
Googling for help, no found yet.
Which variant did you try to install? I tried 16.09 but will try a earlier one just in case.
if you don’t use the installer, is this a simple dd?
assuming image.img as the file and your sd card as /dev/sdc ?
dd if=image.img of=/dev/sdc
How do I install addons like icefilms, navix etc on osmc?
A repository such as SuperRepo is the most common method for installing add-ons.
In the top for one of helpful articles of the year, thankyou!